DIY Dream Catcher Totem
Totem: to·tem ˈtōdəm/ noun 1. A decorative stick/A beacon of hope/A conversation starter/A fun festival accessory/An expression of your personality.
New to the totem world? Get ready for your festival experience be changed forever. Totems are a fantastic way to keep tabs on your group & let everyone venture off but still be able to come together in a sea of people. Instead of the constant texts trying to pinpoint your friends spot in the crowd, save your phone battery for snapchat and enjoy the show. Totems can be anything you want them to be. Some make them weird, some make them funny, and some make a beautiful art piece. Our personal favorite is our Dream Catcher Totem. Since we aren't able to go to Bonnaroo this year, we are sharing how we made it in hopes that the dream catcher totem will live on. Time to get crafty!
The Supplies:
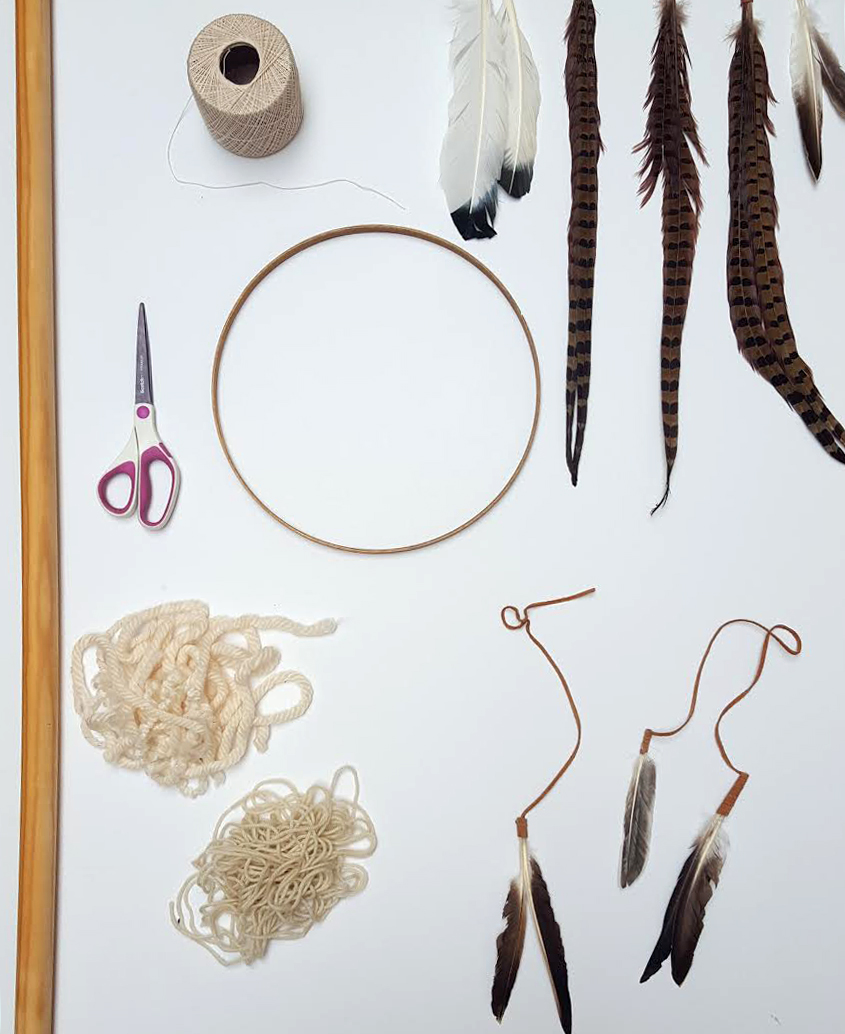
- The Pole: Lightweight & a comfortable size/height for you. (Ours is around 4.7 feet tall and 2" thick)
- Wooden Circle: You want something large that makes a statement but not TOO big. We chose a circle that is 16" in diameter.
- A variety of feathers & yarn: If you made our flag tapestry & feather extensions with us, use your leftovers!
- String: Neutral & thin, used to weave the inside of the dream catcher.
- Scissors

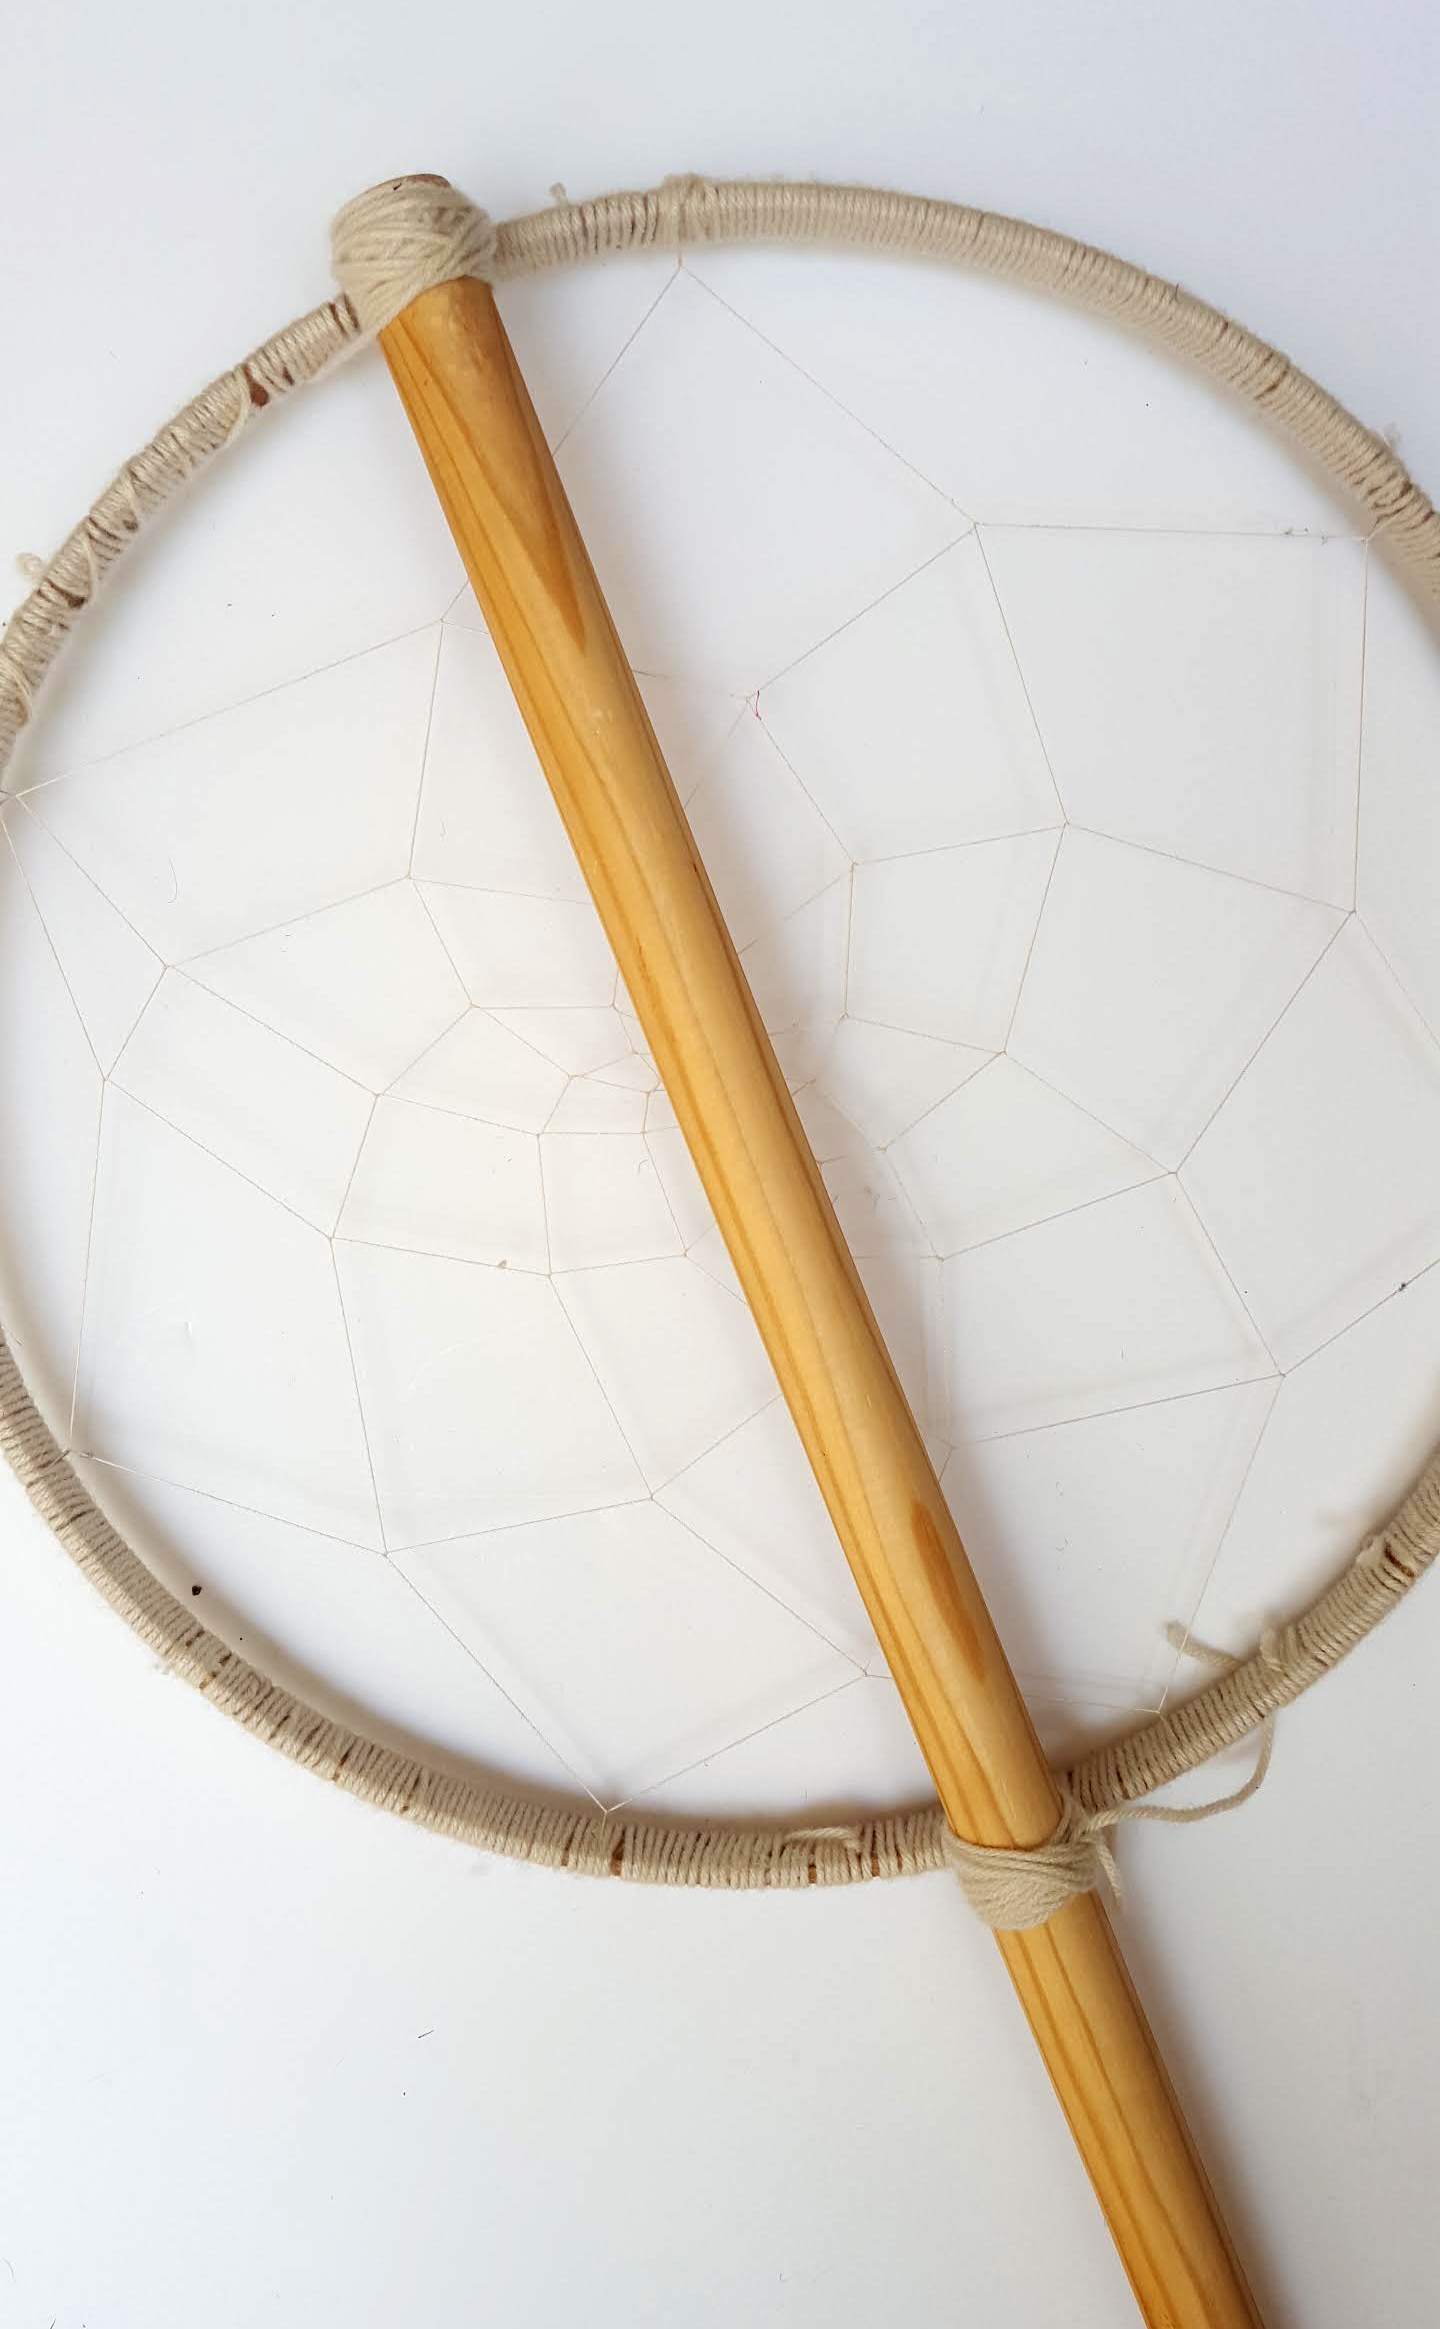
Start off with the center and create an intricate weave just like you would see in a traditional dream catcher. I think it is easier to watch and learn then to read about so we found this video that makes it simple and easy. https://www.youtube.com/watch?v=PcY_60sg0w0
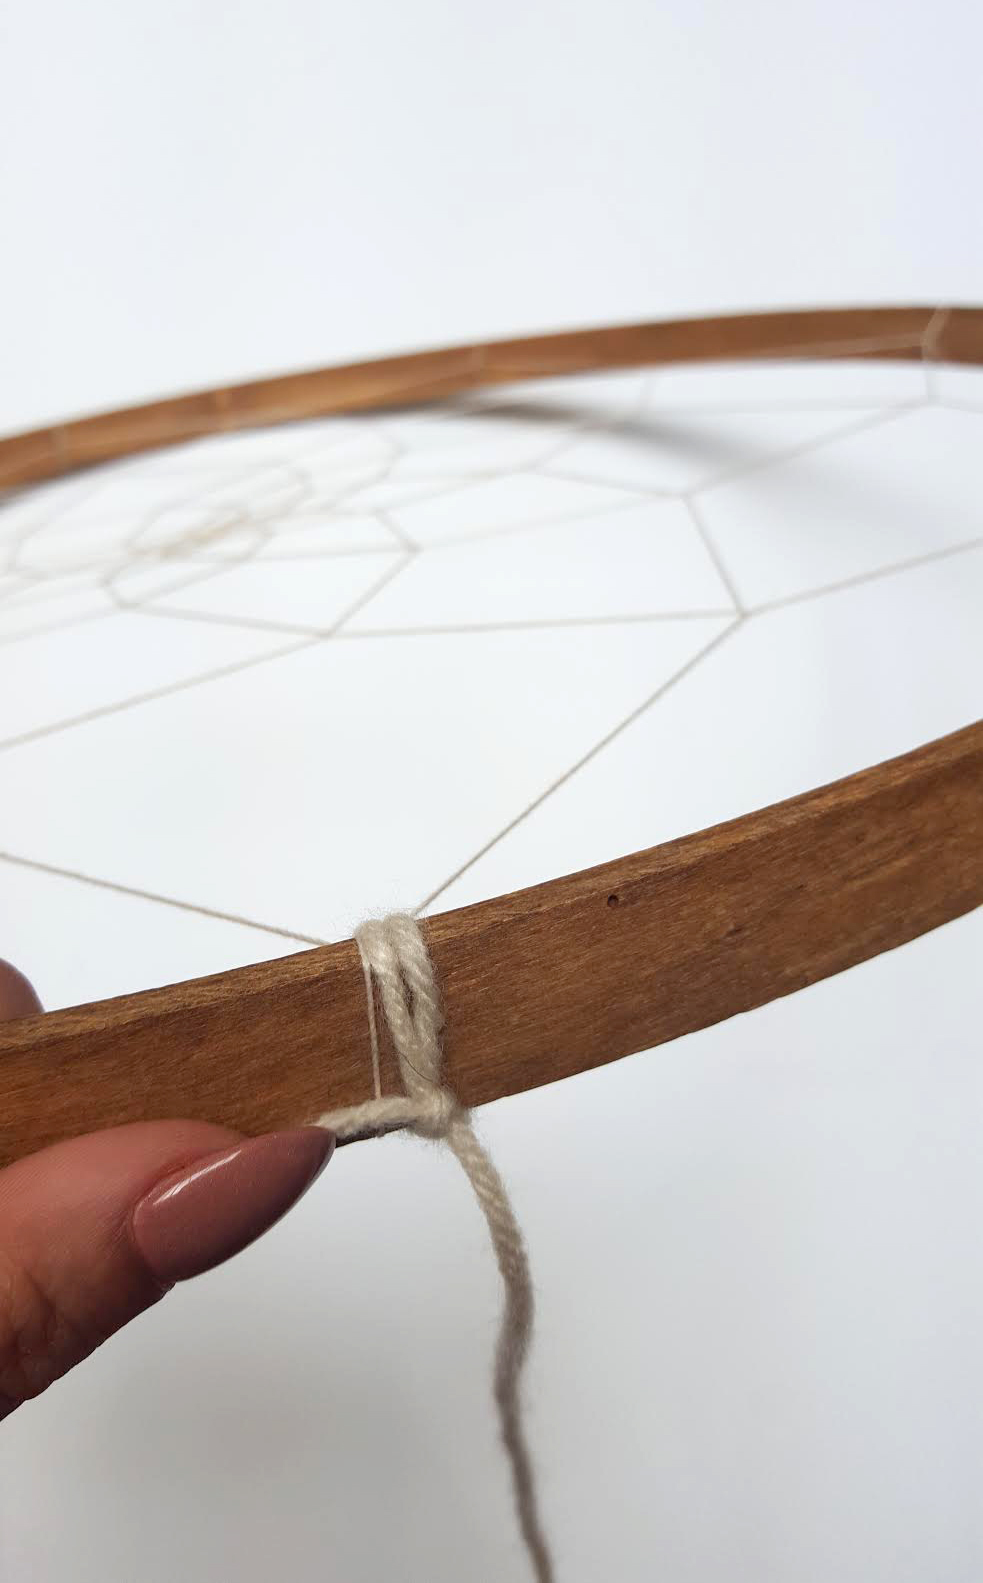
Finished weaving? Now let's make our wooden hoop pretty!
- Tie a long piece of yarn to the hoop
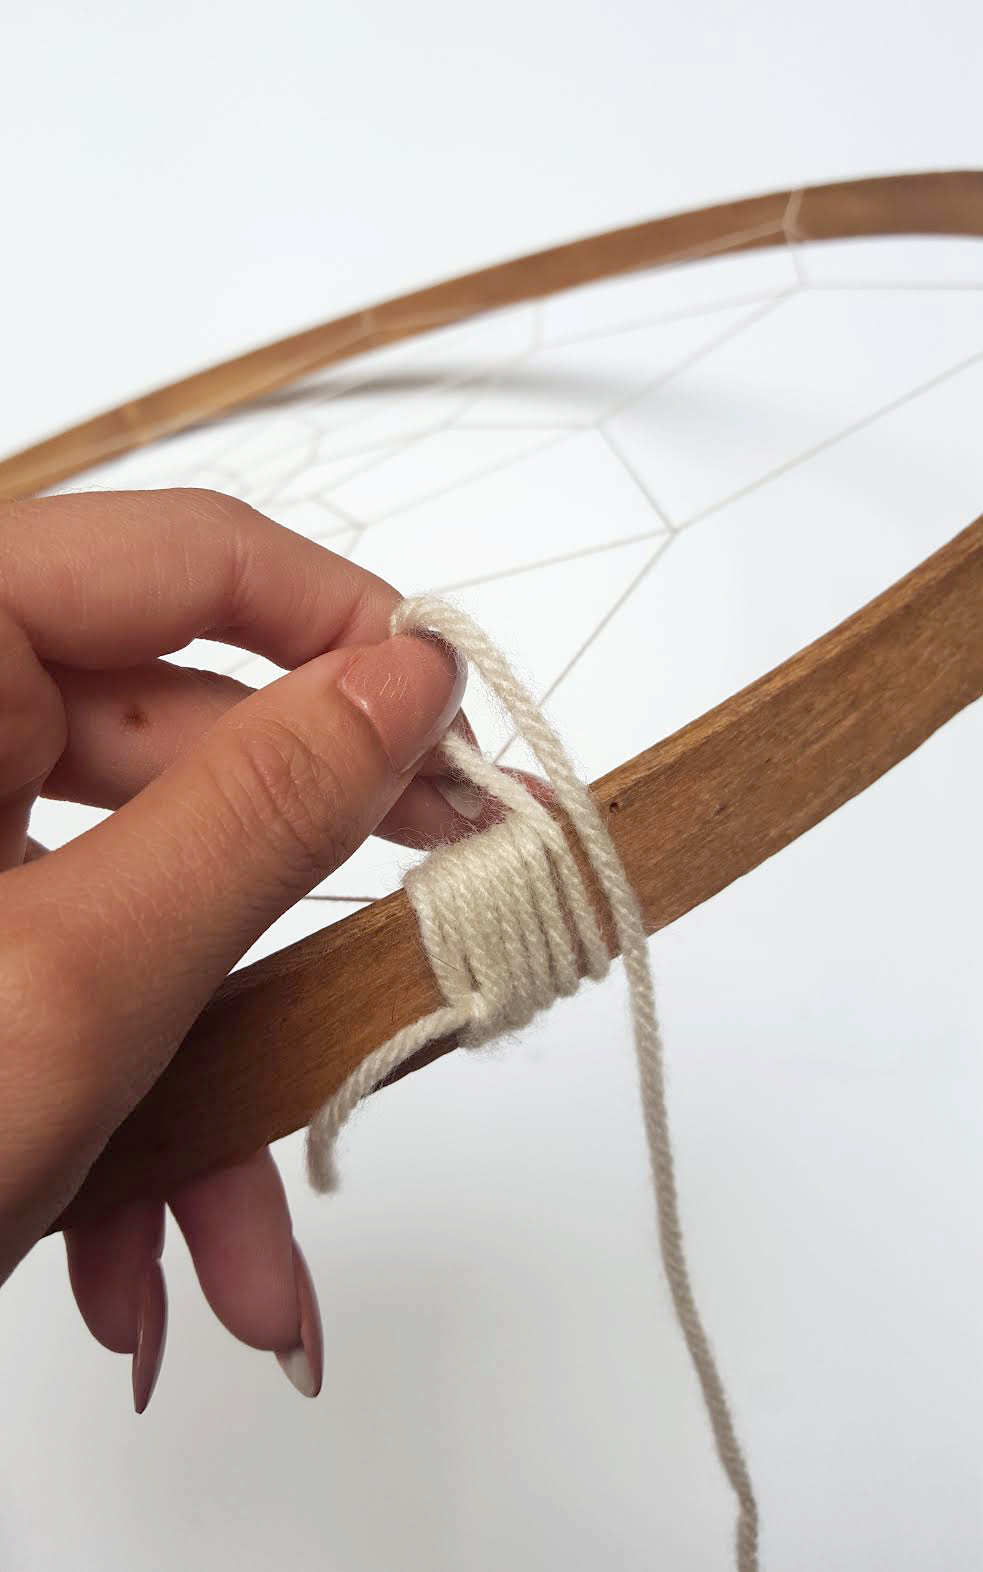
- Start wrapping the yarn around the hoop until it gets too short and then add another long piece to it and keep on wrapping
- Repeat until yarn wraps all the way around
- Tie the starting piece and end piece together with a knot and trim excess

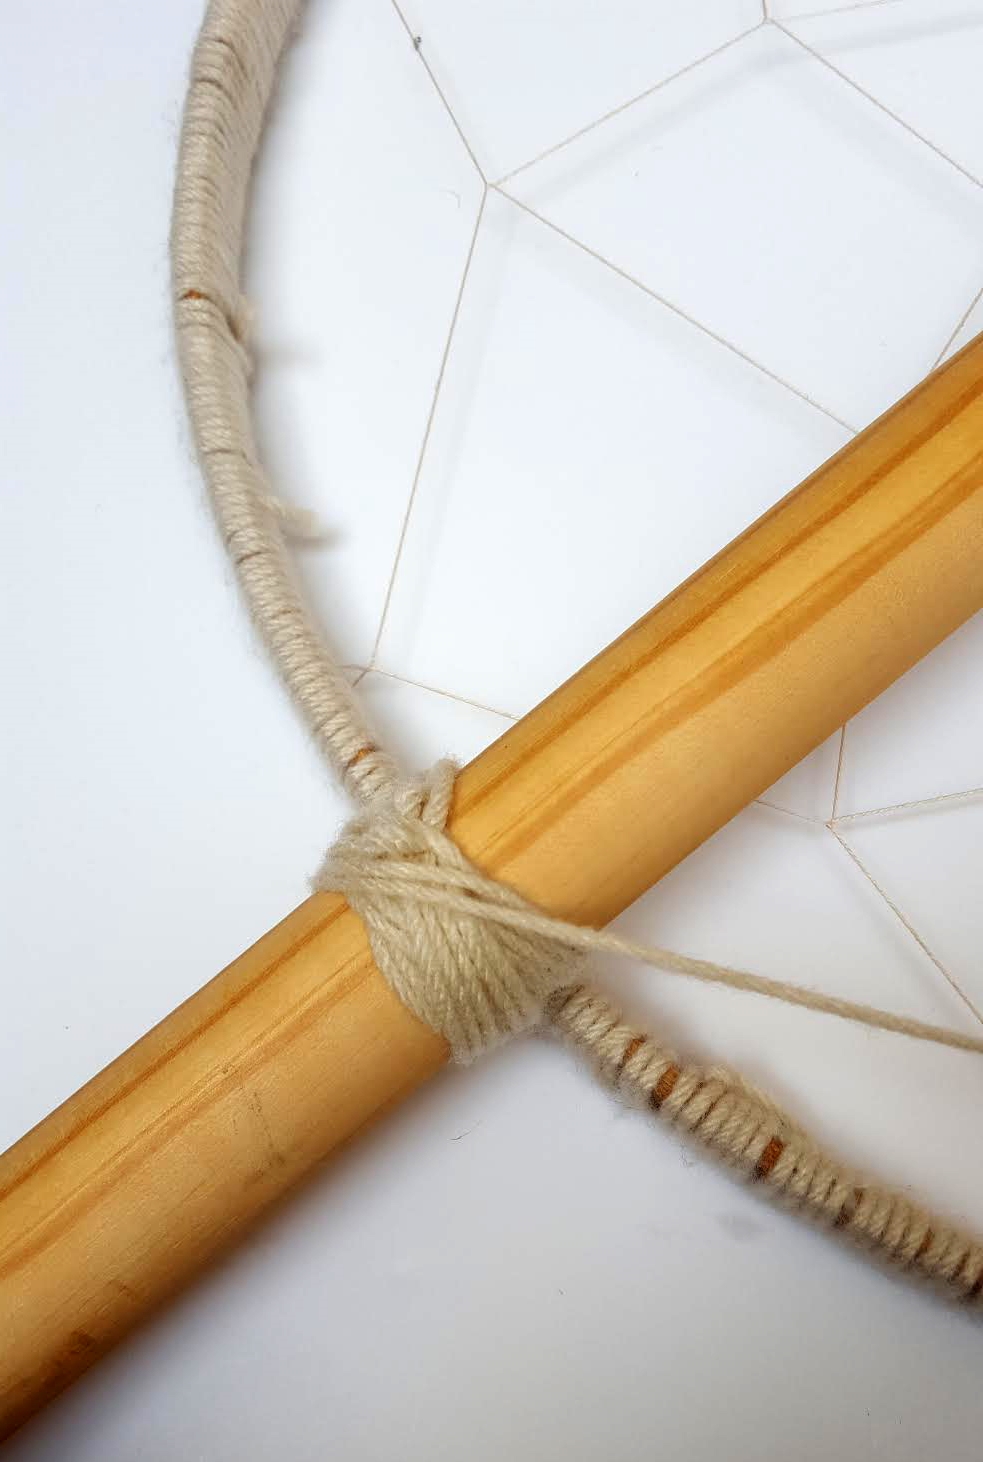
Now that your dream catcher body is completely finished, let's attach it to your totem pole.
- Align the top of your stick with the top of your hoop and tie a knot around both.
- To secure the pole wrap the yarn around the two in an x motion until you feel it is sturdy
- Repeat at the bottom on the hoop (make sure the pole is going straight down the center!)
- Finish off the x with a final knot.
Once you are confident that your totem head is stable and secure enough to dance with you all weekend, let's move on to the fun part!
- Starting in the center (right on the totem pole) attach yarn with a knot.
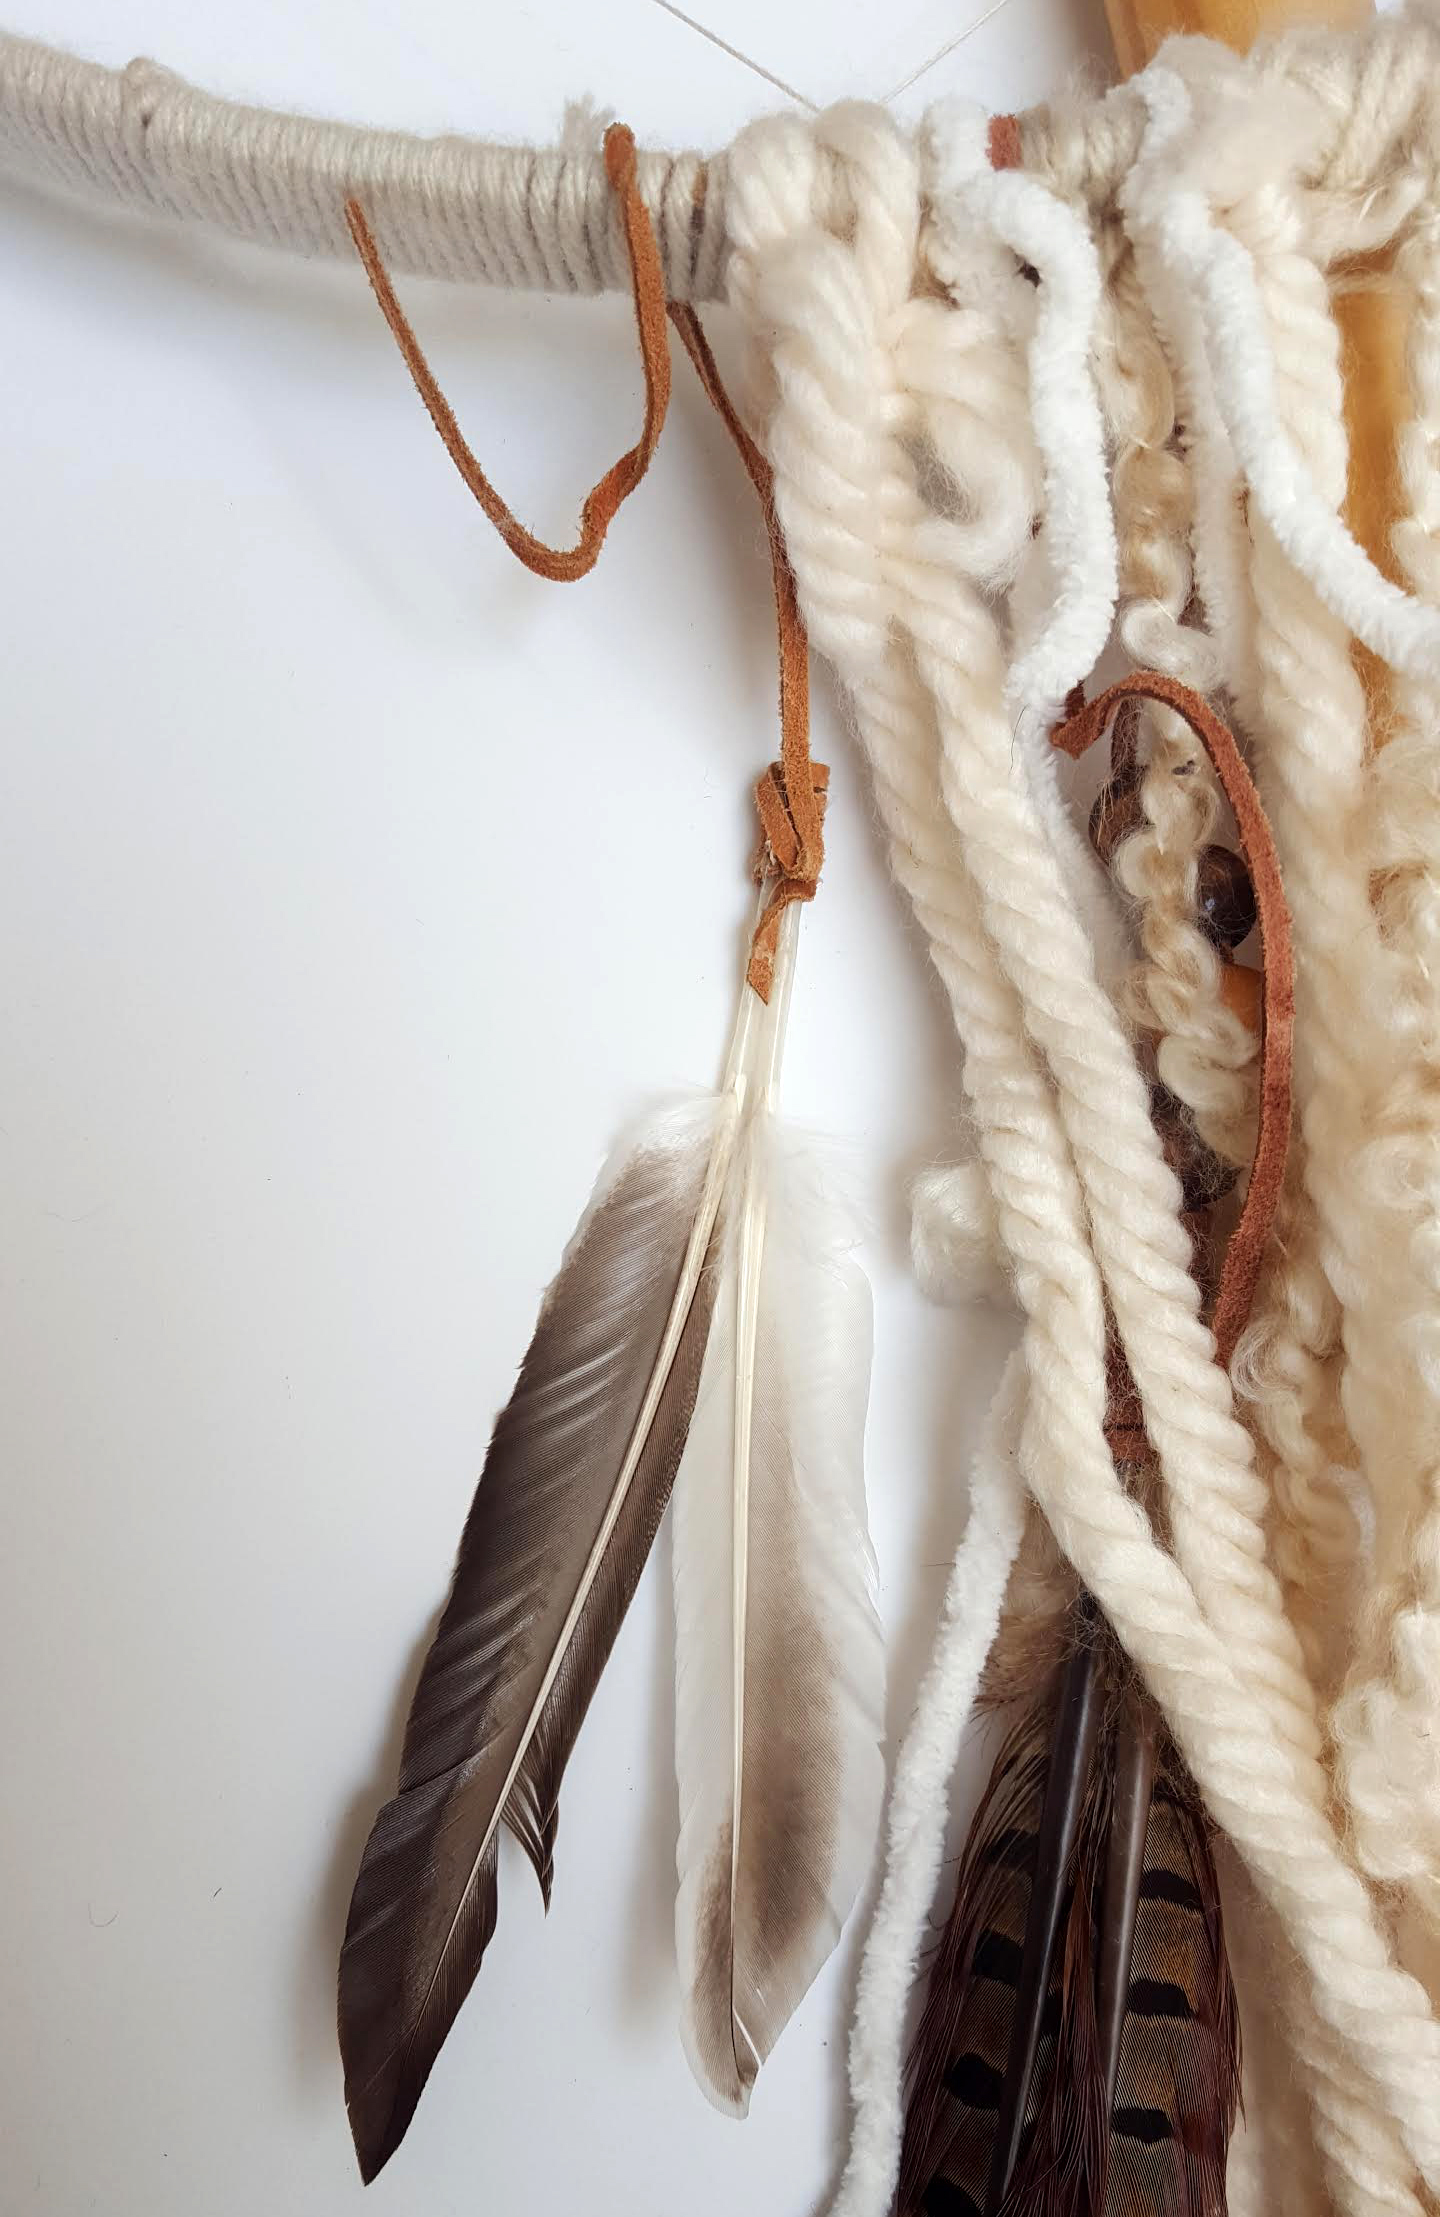
- Work from the center out, tying different textured yarns next to each other and cutting them slightly shorter as you move outward (the ends will make a v.)
- After you add all the yarn, if your v shape is uneven or fraying, give it a good trim
- Attach feathers to string and mix them in throughout. I added two long feathers in the center and shorter feathers along the outside.
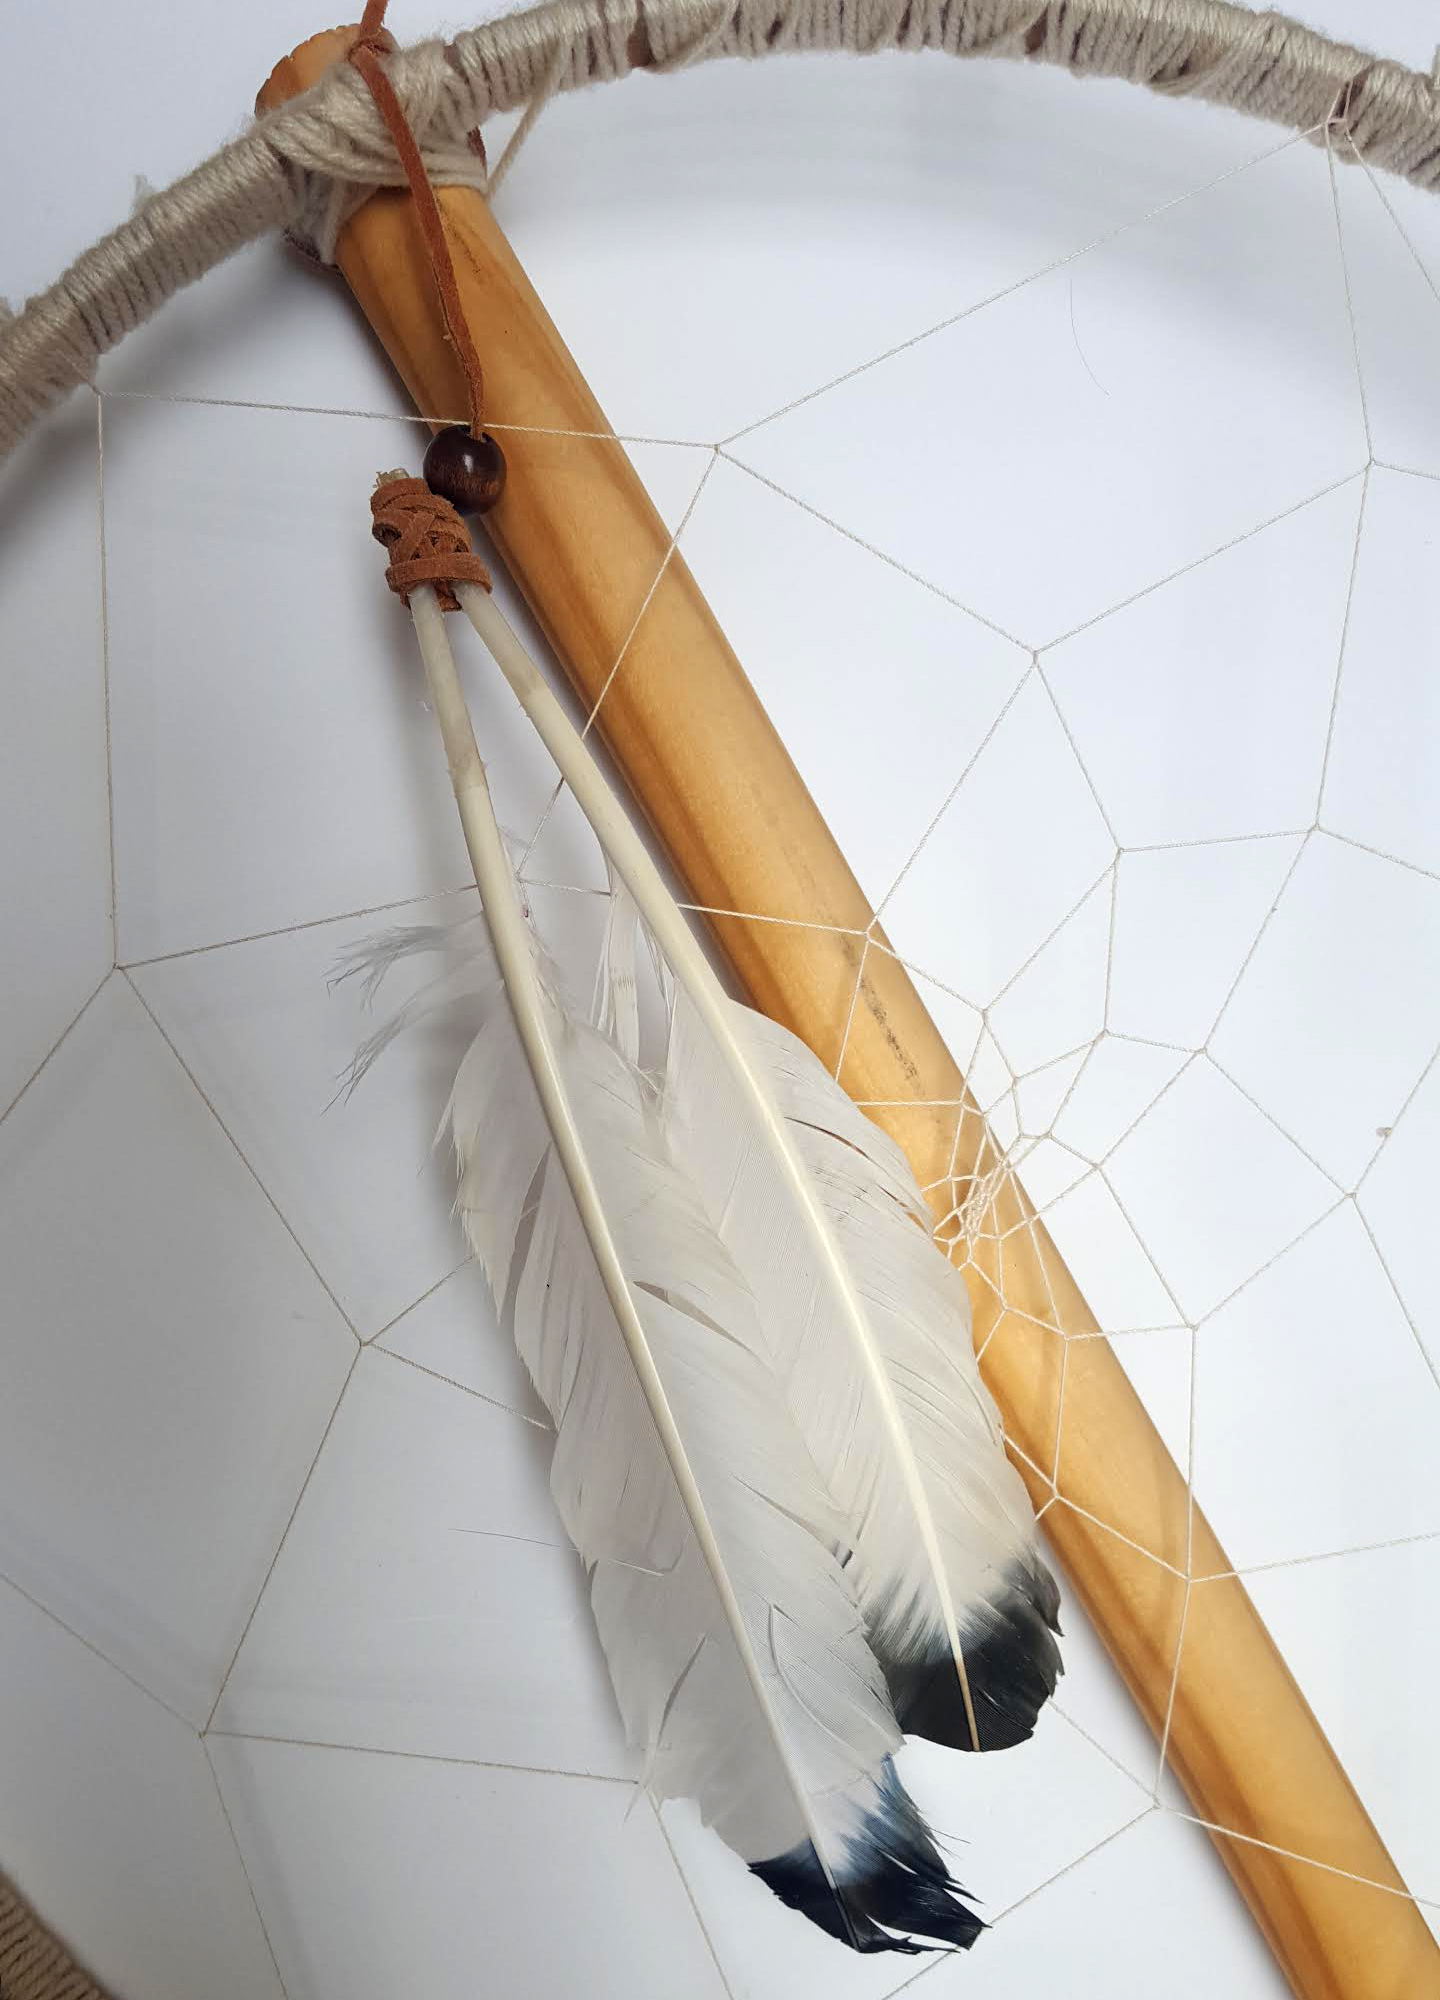
- Attach feathers to the top of the stick and let it dangle over the center of the dream weave.
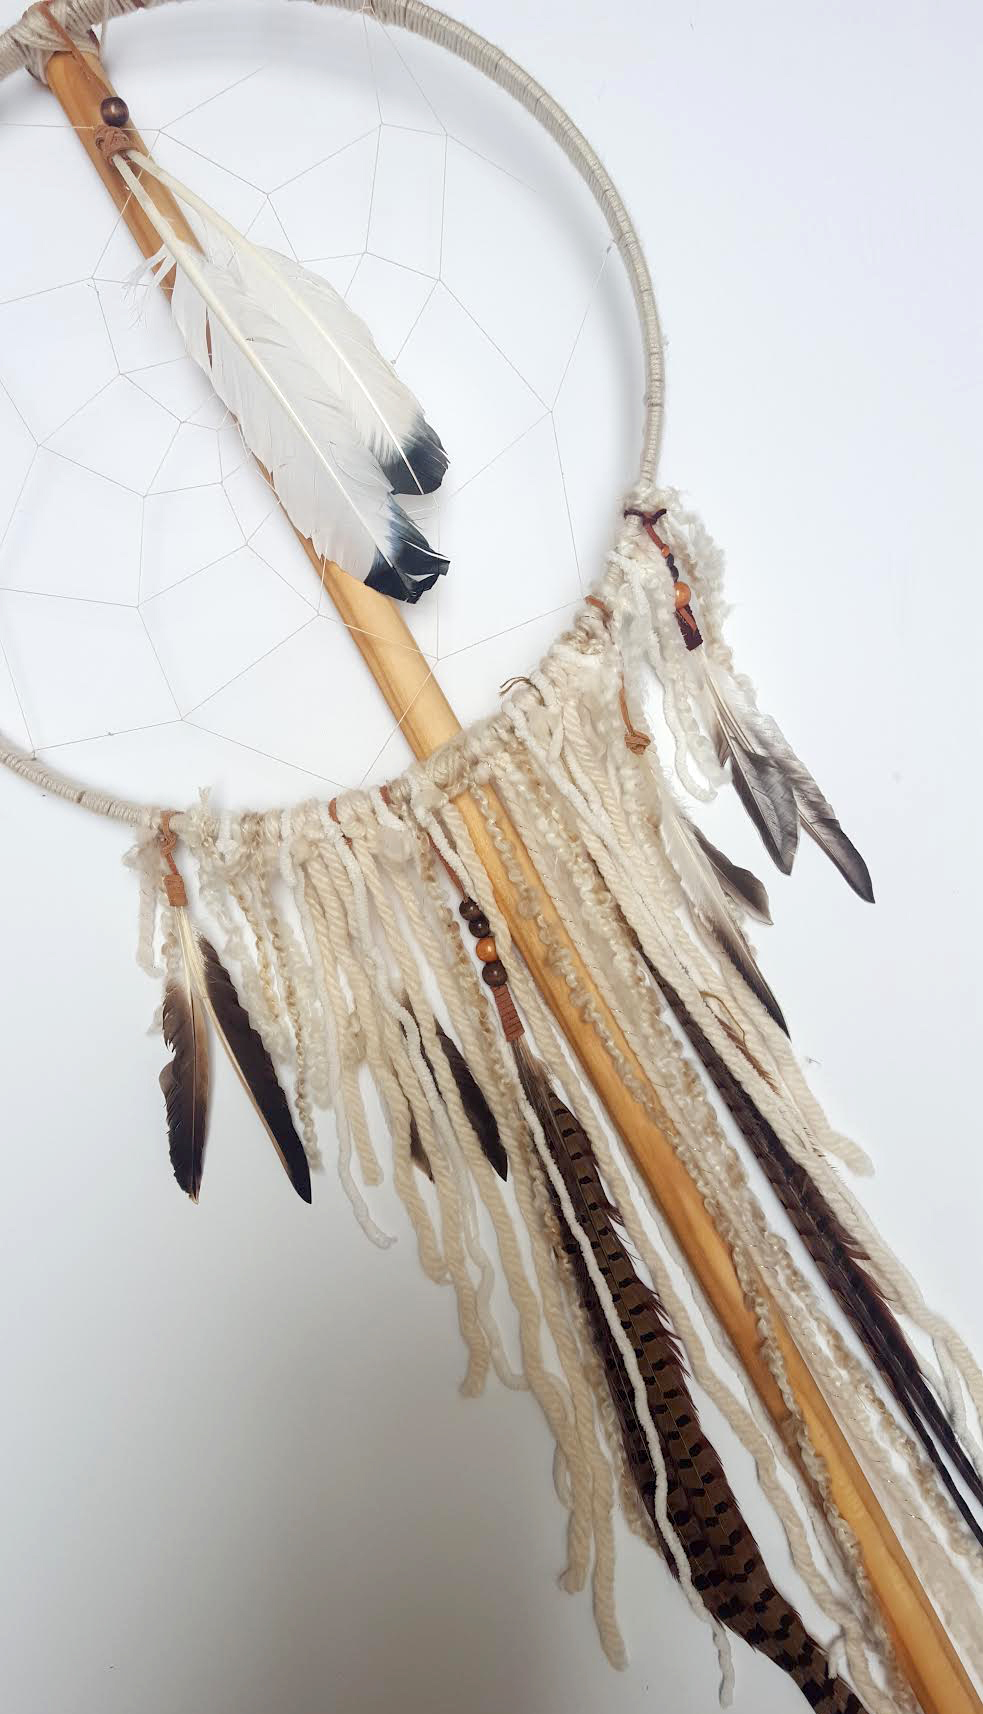
Feel free to make it yours! Add in colors, trinkets, beads, or anything that will give your totem life. Since we won't be attending Roo this year, share the fun with us! Take pictures with your totem, tag @threads and come back and let us know how your totem worked for you.