
DIY Under $15: Celestial Wall Hanging
Let’s be honest, who has the time or the money to glam up their house. I have THE PERFECT thing for you: in one hour, and for $15, you can make a moon-phase wall hanging. If you’re anything like me, I think you’ll understand that as much as I want to have the cutest boho-chic bedroom— I can’t really justify spending $50 or more on just one piece of decoration. Don’t get me wrong, I believe in investment pieces, but if I can make the same thing for way less…why not? Plus extra points for being a Pinterest gal. This DIY Celestial Wall Hanging will be the perfect addition to your bedroom that needs a little boho spice.
Here's What You'll Need:

- Air dry clay
- 2 sizes of circular cookie cutters (or any other circular object, i.e. coffee mug)
- Gold (or your color of choice) metallic spray paint
- Gold/brass chain
- Jump rings
- Scissors or jewelry/chain cutter
- Old newspaper (or anything to spray paint on)
I got all the supplies from Michael's because they ALWAYS have coupons on their app!
Step 1
After gathering the materials, portion off a chunk of clay. Roll it out using a rolling pin, or you can be a true Pinterest DIY-er and use the the side of your mug, the spray paint can, etc., and make it a uniform thickness.

(This doesn’t look like a lot of clay, but but because we are making crescent shapes as well, we can efficiently use the shape to our advantage — I will show you more in depth later~)
Step 2
Use the different shaped cutters (or mugs) to begin making the moon phases!
*Note: with my small mug I made 2 full moons and 2 crescent moons // with the bigger mug I made 1 big crescent moon*

Once you punch out the portion of the circle for these crescent moons, use the same size cutter and offset it from the center to create this curved shape.
Step 3
Puncture small holes (using a pen/toothpick/etc) at the top and the bottoms of each shape and let them DRY.
*Note: you can offset the holes in the center piece so the moon curve opens to the side*

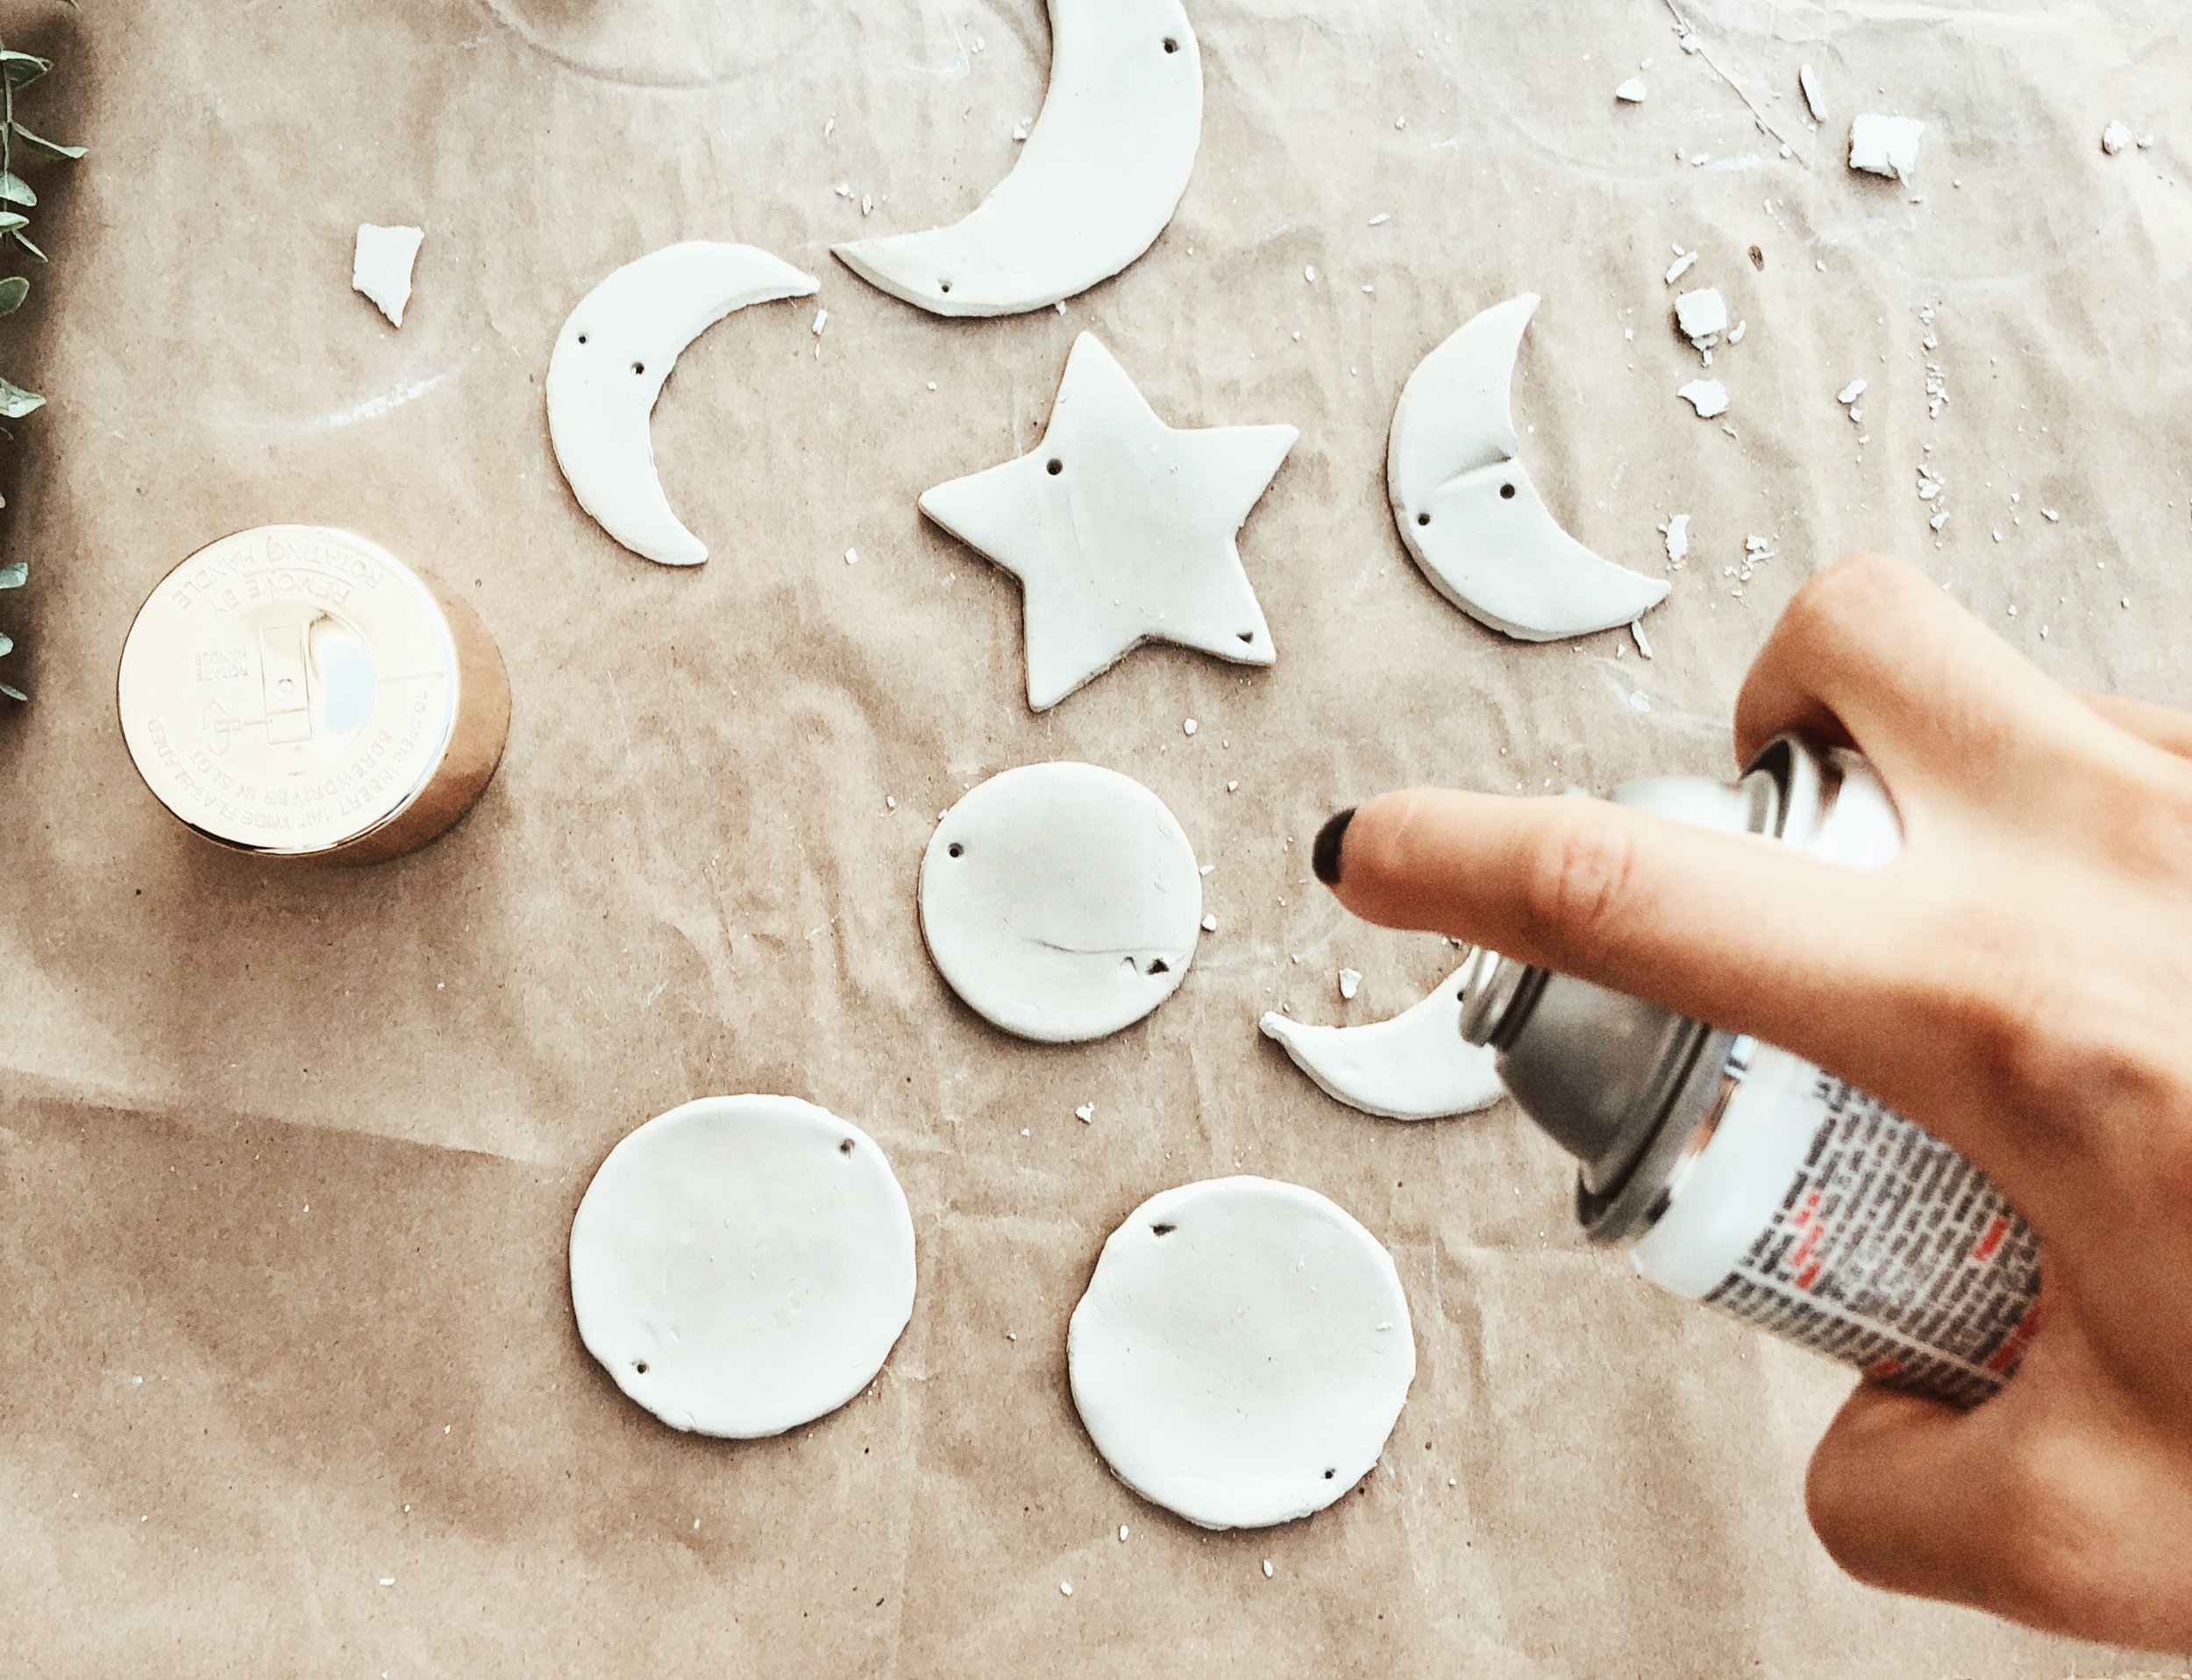
Step 4
Next, spray paint the shapes and allow these to dry as well. It should only take a few minutes to dry!
Step 5
Now, use your scissors to cut the chain links that will connect the different moon phase shapes. One long chain to hang to the wall and four small chains for the in-between. (I cut extra just in case)

Step 6
Connect the chains and the jump hooks to the holes you made in your shapes // follow the pattern you want but I pictured my final project if you want some inspo!!

Hope this gave you guys a little DIY home inspo to glam up your pad on a budget!
xoxo
Ashley


