
DIY: Make a Zodiac Ornament for Under $5
There are so many things to love about the holidays. That moment when you walk in from a blustery winter night to be enfolded by the warmth of the smiling faces of your friends at holiday parties. The smell of Christmas cookies baking in the oven. The twinkle of shimmering lights in all of the trees. It's a magical time of year and I always find myself wanting to do something extra personal to show my people how much I care. What's more charmingly retro and totally personal than a hand made ornament?!
Inspired by the dreamers and star gazers in my constellations of friendships I decided to make embroidered zodiac ornaments. They look adorable hung on your tree, but also make the cutest personalize gift tags.

Making them is also super simple. You'll need:
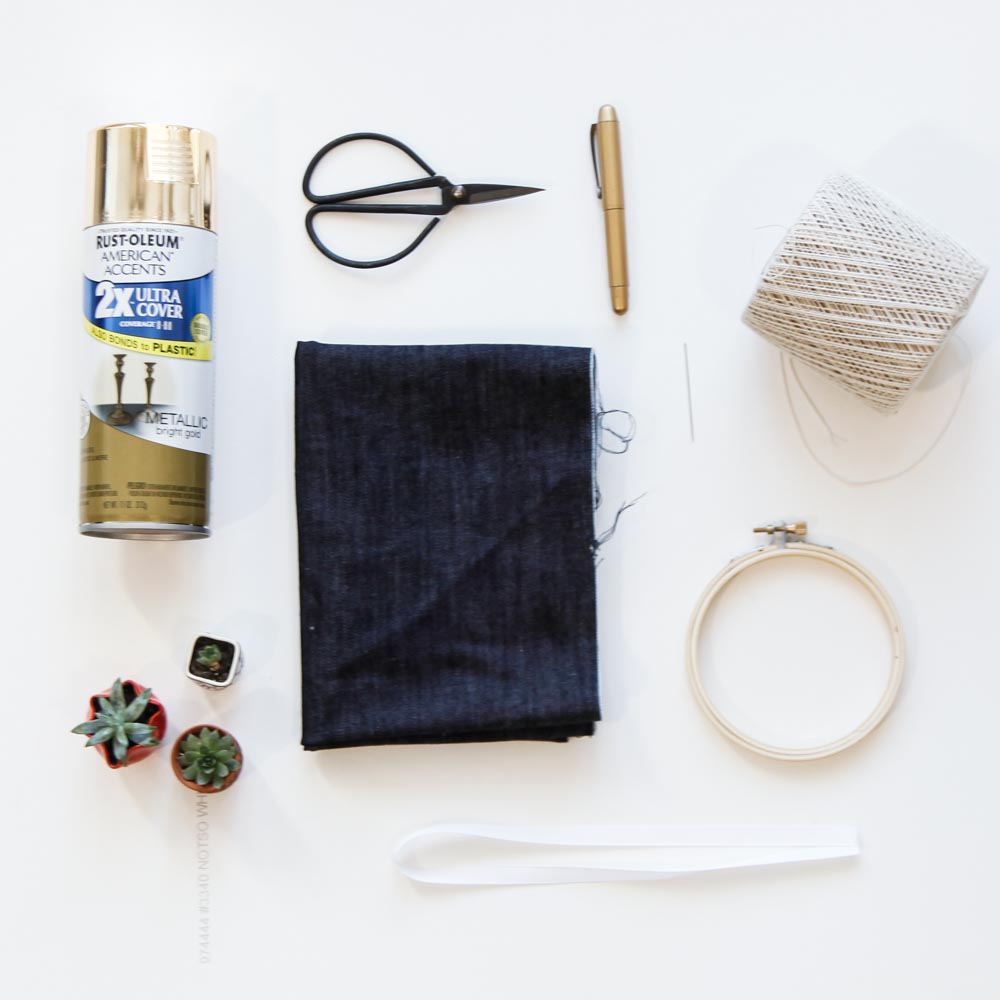
-A small embroidery hoop
-A small piece of fabric. (I used a dark rinse denim, but velvet would also be really cute!)
-A needle and thread -A pen
- A pair of scissors -Ribbon.
* Bonus points for gold spray paint to make the frame look schmancy.
If you want to guild your frame now is the best to hit it with a little spray paint and allow it to dry while you gather your other supplies.

Once you're ready all you do is cut a small square of your fabric to fit the embroidery hoop. Then open the hoop and lay the material inside, snapping the top half over it and tightening until it holds fast.
I then googled an image of my desired constellation and drew it out on my fabric. I suggest using a pen the same color as your material to hide any potential mistakes.
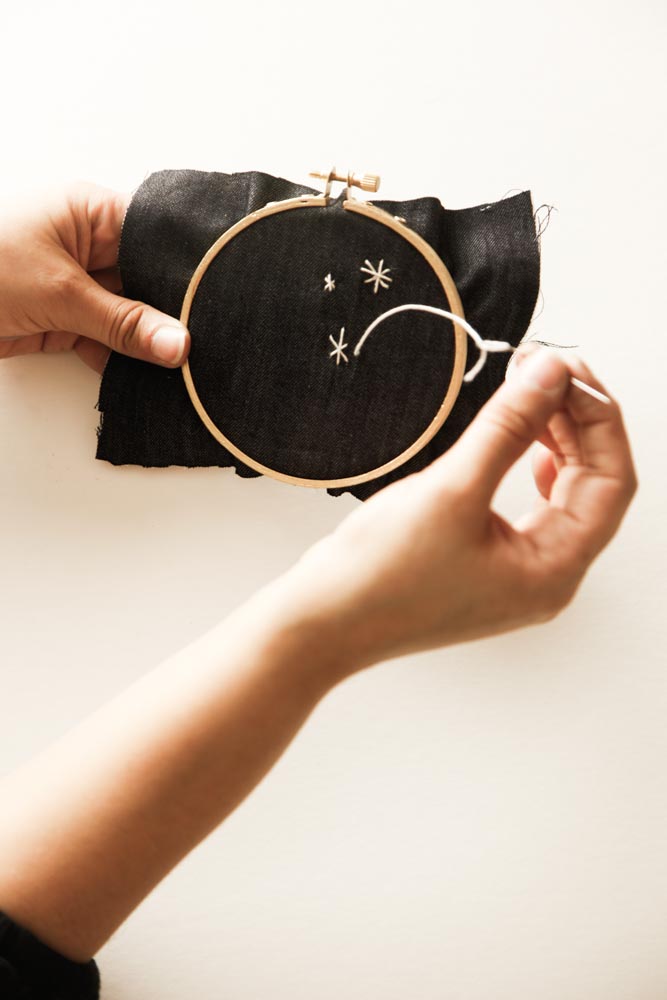
Now you're ready to sew. Thread your needle, tie a knot at the end and start creating stars. I kept it minimal & rustic and made an X with one more stitch across the middle to make my stars. Stitch all your stars first and then go back around and connect the dots with short lines. You can even add in little random specs to create a starry sky for your constellations to live in.

Once you're happy with the design you simply trim all the extra fabric from around the frame and tie a loop around the top so it can be hung from a tree or tied to a present. SO simple and so festive.
Happy Holidays, babes!


